We generally aren’t dessert kind of people. By the time we
finish a meal, we’re usually nicely full and can pass up whatever sweet things
look tempting. But there are occasions where just a little something as a snack
calls our name, especially if what’s calling is made with chocolate.
When I found this chocolate cookie recipe and realized I had
all the ingredients on hand, well, I gave into temptation and whipped up a
batch. Actually, I halved the recipe, so it was only half a batch.
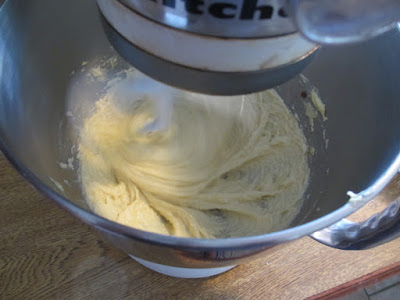
I started out by creaming together the butter and sugar.
Then added an egg and the vanilla extract and whipped it up until it was all combined.
Next I sifted the flour, baking soda, salt, and cocoa powder.
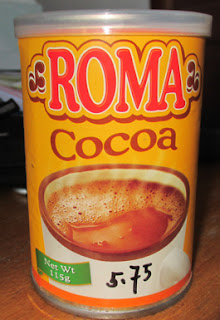
A brief word on the cocoa powder. I know the recipe calls for Dutch process cocoa. If you can find any in Corozal (BWAHAAAHAAA), then by all means use it. All I could get my hands on is a can of this:
It's not Dutch, but it isn't sweetened; just plain old cocoa. Now I realize some purist chefs and home cooks would gasp at the idea of using such a pedestrian ingredient. However to the best of my knowledge, no puppies died, no angels lost their wings, nor did the world stop turning on its axis. It's Belize - work with what you've got.
Anyway, after sifting together the dry ingredients, I added it to the butter mixture in thirds and scraped the sides after adding each batch.
Hello chocolate loveliness!
I scooped the dough onto a sheet of wax paper and rolled it into a log shape...
...then popped it into the fridge for two hours.
Once it had finished chillin', I sliced the dough into about 1/2 inches pieces. As I can't measure anything if my life depended on it, some of the slices may have been a little thicker than others. Hey, it gives the cookies that authentic home made touch.
If you don't have a Silpat, placing the cookies on a piece of parchment paper will work just fine.
The tray was popped into a pre-heated 350 degree oven and they baked for about 10 minutes.
And these are now my newest friends:
The recipe suggests dusting them with sanding sugar before popping them in the oven. I skipped that step because (a) I thought they may end up tasting too sweet, and (b) sanding sugar is as readily available here as Dutch cocoa.
In spite of the substituted and omitted ingredients, we think these taste just fine...a great texture of crispy and chewy and best of all, chocolate!
For more good eats, check out the Recipes tab at the top of the screen.


No comments:
Post a Comment